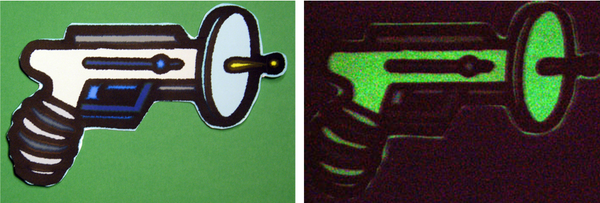
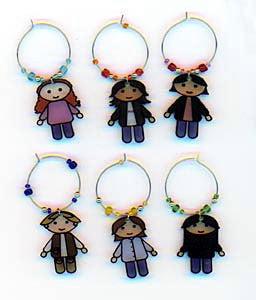
Create personalized glow-in-the-dark charms, keychains, or gifts at home using printable shrink film that hardens into durable, light-charged designs.
Glow Shrink Art
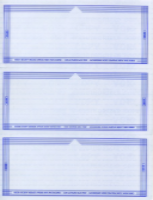
Glow in the Dark Inkjet Printable Shrink Film
Three (3) 8.5 x 11 Sheets per Package
Use this shrink film with an inkjet printer, colored pencils, or markers. It cuts easily like paper and shrinks to one third of its size when baked—becoming thicker, rigid, and extremely durable. After shrinking, the film resists cracking and can be handled like hard plastic.
Creative Possibilities
Take a favorite coloring page, scan or photograph it, and print it onto glow shrink film. Then color, cut, and bake to make pendants, earrings, keychains, charms, ornaments, or bow ties. Use any design software or draw directly onto the sheet with markers or pencils—this material is flexible for both digital and hand-drawn creations.
Printing Tips
- You can print or draw on either side of the sheet.
- Set paper size to US Letter / Borderless Photo 8.5" x 11"
- Choose Premium Paper or Matte Photo Paper for best results
- Set your printer to High Resolution or Photo Quality output
- Handle sheets by the edges to avoid fingerprints
Baking Instructions
- Preheat oven to 350°–400°F
- Cut designs only after ink is fully dry
- Place cutouts on a baking pan or non-stick cookie sheet
- Bake on center oven rack for 30 seconds to 1 minute
- Once flat, remove with oven mitt
- Cool for 5 minutes before touching or moving
- Let pan cool completely before baking another batch
Design Tips
- Punch holes before shrinking to allow for string, jump rings, or ribbon
- Colors will darken when shrunk—boost brightness by 20% before printing
- Leave 2 inches between cutouts when baking multiple designs
- If a design curls, flatten gently using an oven mitt and tin
General Use Notes
- Glow sheets accept ink and hand-drawing media
- Wait 24 hours before framing or sealing artwork
- Store unused sheets in original packaging to prevent moisture exposure
- Do not use a microwave—standard or toaster ovens only
Package Contents
- Three (3) Glow-in-the-Dark Shrink Sheets
- Sheet Size: 8.5" x 11"
- Inkjet compatible
- Works with markers and pencils
